I. Overview
Magento Marketplace is a multiple vendor marketplace extension. A vendor can create his own seller account on the marketplace website. Vendors can easily add and manage their own products within the MarketPlace.
Customers will visit to Marketplace website, search and buy products. Money will be transferred to Marketplace owner and system will add the money to the vendors credit account. Website owners can charge additional fees for each transaction the Vendor gains. Vendors can then withdraw the money from his credit account to his bank or paypal at any time.
Vendors can manage orders, create shipments for orders.then ship products to customer all from a very easy to use management interface.
Customer can leave reviews/ratings for Vendors every time an order is placed, allowing for a very safe shopping experience for all.
And many other features...
II. Configuration
From admin cpanel go to menu Vendors -> Configuration.1. General
a. Extension Mode
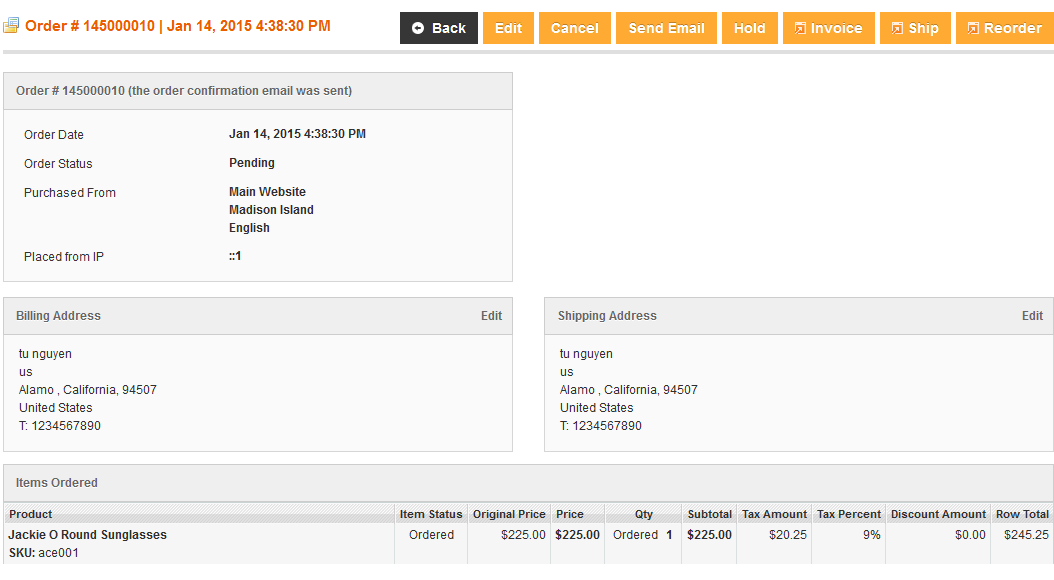
There are three modes of the marketplace extension:- General: In this mode all products in shopping cart from vendors will be processed together to one order. vendor can only see some information about the order. Vendor can not see products of other vendors from order.
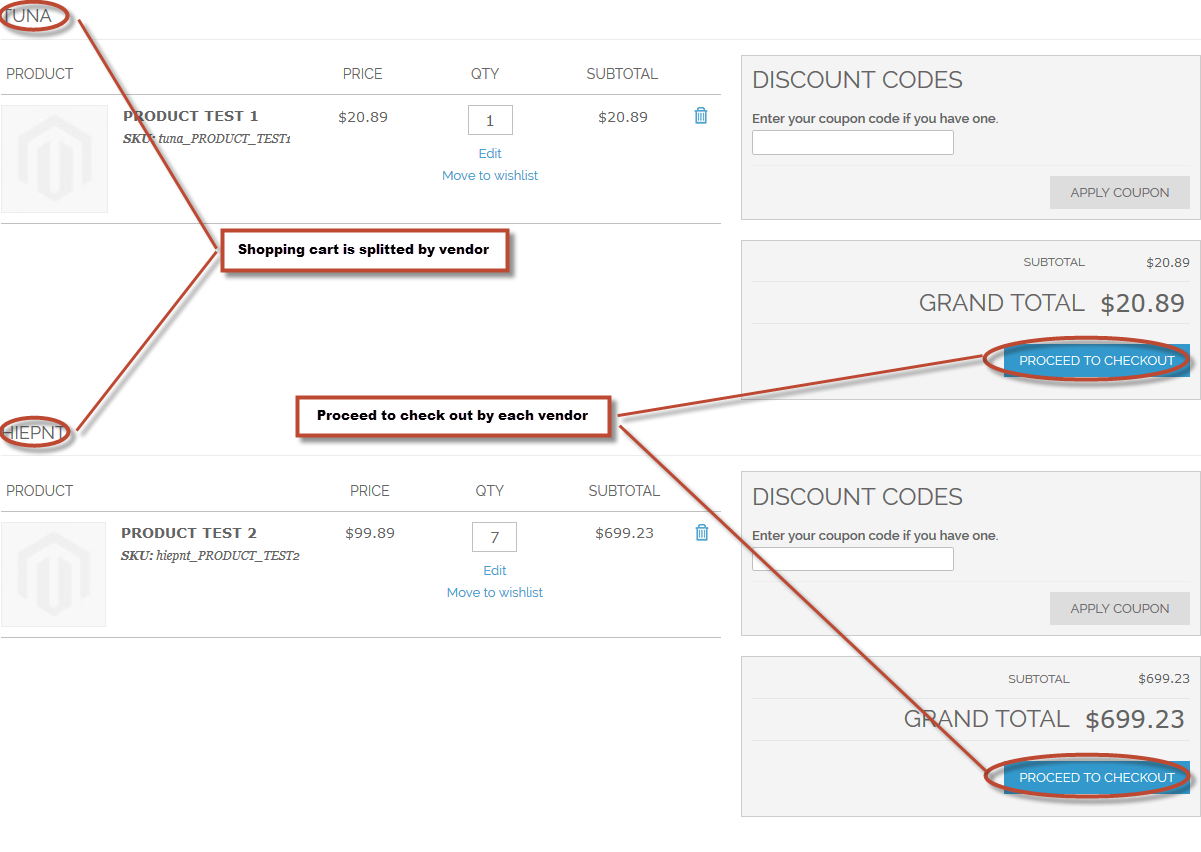
- Advanced: In this mode products on shopping cart will be separated by vendors and they will be processed by each vendor. Vendor can have full access to his orders,invoices,shipments,creditmemo.
- Advanced X: In this mode products on shopping cart will NOT be separated by vendors. One shopping cart is used for all vendor products, one time checkout for all vendor products and orders are still splitted by each vendor. Vendor can have full access to his orders, invoices, shipments, creditmemo.THIS MODE WILL WORK WITH ONLY SOME PAYMENT METHODS(tested with Check Money Order, Cash On Delivery, Purchase Order, Saved CC, paypal pro - credit card only).
b. Calculate Commission Based On
With this option you can choose how to calculate commission. Note that the Grandtotal, Subtotal, Subtotal After Discount can be used with Advanced or Advanced X only. Item Row Total can be used for General Mode only.
c. Header Logo
You can set the header logo of vendor cpanel page using this option.
d. Footer Html
You can set the footer text of vendor cpanel page using this option.
2. Creat New Account Options
a. Enable vendor register
If this option is set to No, vendor will not be able to register from frontend.
b. Vendor Approval
If this option is set to Yes, after vendor account need to be reviewed and approved by admin.
c. Default Group
After vendor register his account will be assigned to this group.
d. Default Welcome Email
The welcome email will be sent vendor after his register vendor account.
e. Email Sender
System will use this email to set for from field of the welcome email.
f. Require Emails Confirmation
If this option is set toYes, Vendor email account need to be verified. A verification email with a verification link will be sent to vendor email. After vendor click to the verification link his email account will be verified.
g. Confirmation Link Email
This email will be sent if the option "Require Emails Confirmation" is set to "Yes". It contains steps to verify vendor email account.
h. Welcome Email
This email will be sent instead of default welcome email, after account confirmation.
3. Password Options
a. Forgot Email Template
This email is sent when vendor use the forgot password function with instruction about how to reset password.
b. Remind Email Template
This email is sent after vendor click to reset password link from "Forgot Email".
c. Forgot and Remind Email Sender
System will use this email to set for from field of the forgot email.
d. Recovery Link Expiration Period (days)
After submit the forgot password form he will get an email with recovery password link. This link will be expired after this time.
4. Catalog
a. Available Attribute Sets
Only selected attribute sets are available for vendor.
b. Available Product Type
Only selected product types care available for vendor.
c. Product Approval
If this option is set to 'Yes' vendor products need to be reviewed and approved by admin.
d. Product approved notification email
This notification email will be sent when the product is reviewed and approved.
e. Product rejected notification email
This notification email will be sent when the product is reviewed and rejected.
f. Email Sender
System will use this email to set for from field of the product notifiattion email.
5. Sales
a. Vendor can view order comments history
b. Vendor can submit order comments
c. Vendor can view payment info
d. Vendor can view invoices
e. Vendor can view creditmemo
f. Enable New Order Notification Email
If this option is set to Yes, the order notification email will be sent to vendor when new order is placed.
g. New Order Notification Template
h. Email Sender
6. Credit
a. Credit Balance Change Email
This notification email will be sent to vendor when his credit balance is changed.
b. New Withdrawal Email
This notification email will be sent to vendor when he submit a withdrawal request.
c. Withdrawal Success Email
This notification email will be sent to vendor when he withdrawal request is approved.
d. Withdrawal Rejected Email
This notification email will be sent to vendor when he withdrawal request is rejected.
e. Email Sender
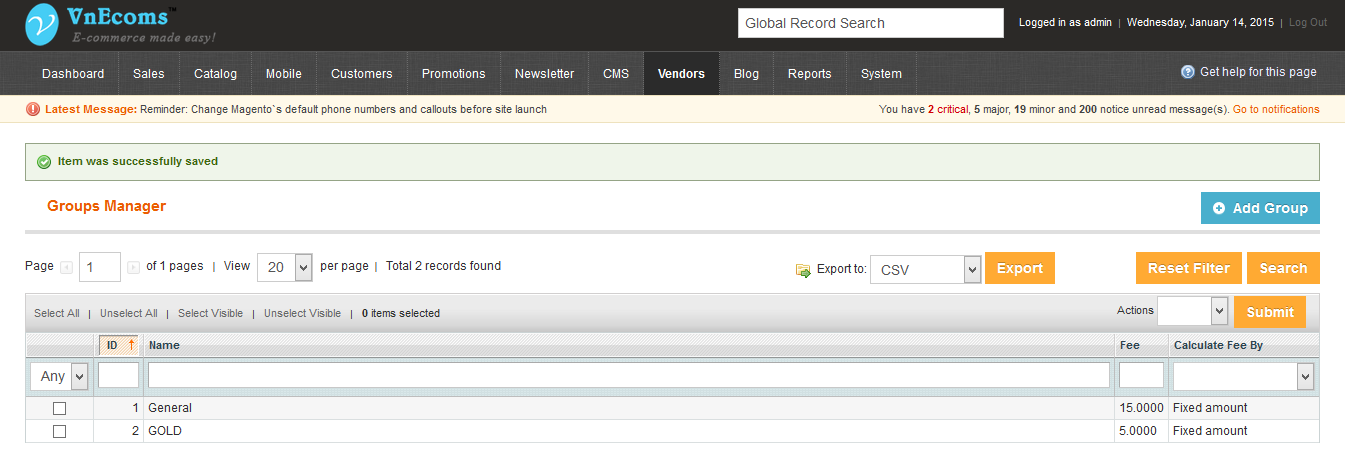
III. Manage Vendor Groups
The Magento marketplace provides the ability to manage vendors by group. You can set commission for each group by percent of any order or fixed amount. So you can set up different commission for each group e.g. Free vendor will need to pay 15% for each order, Gold vendors, who pay $100/month, will not need be charged any fee per order.

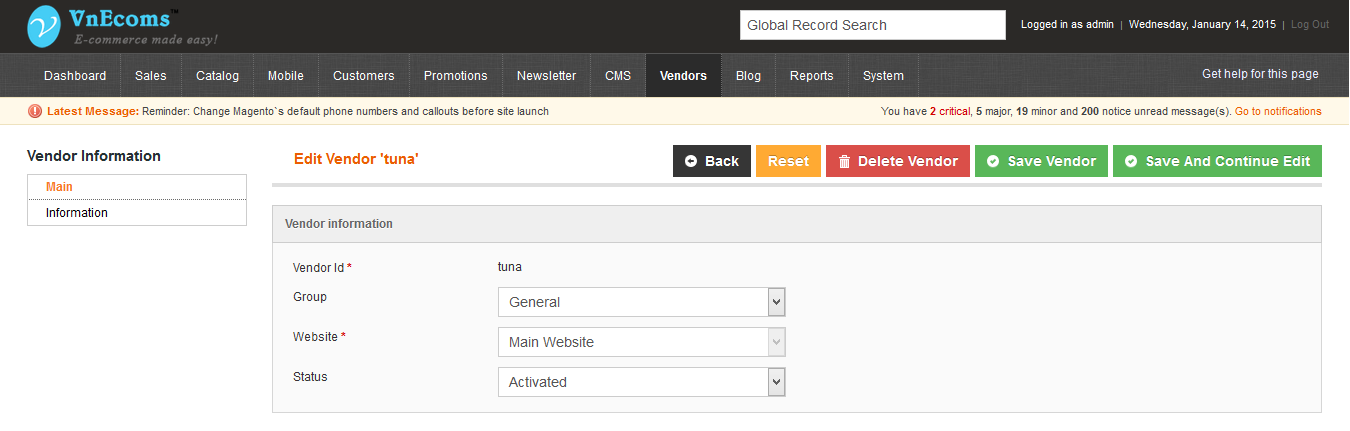
IV. Manage Vendors
From admin panel go to menu Vendors -> Manage Vendors to manage vendor accounts.
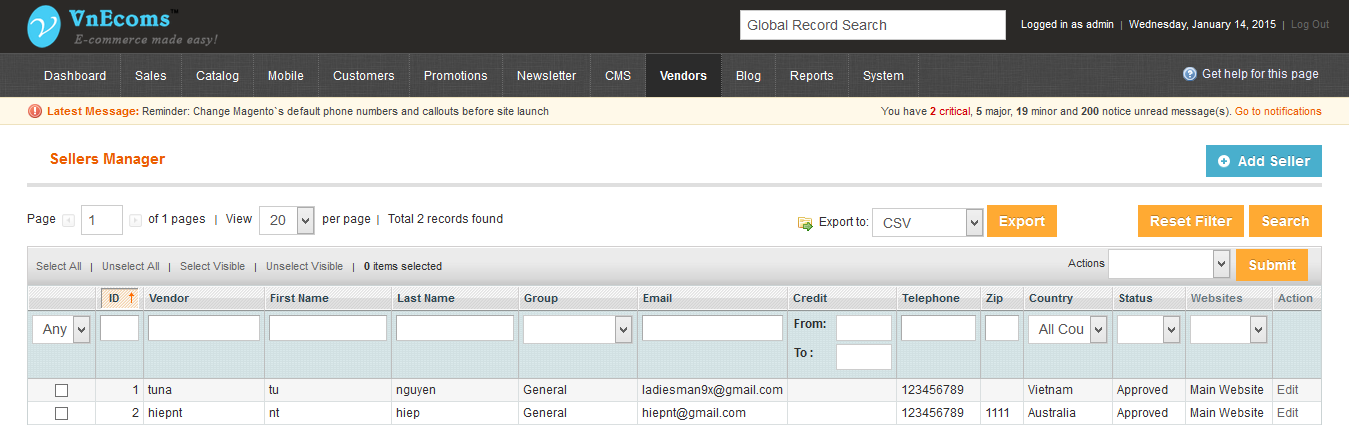
On this page you are able to add, edit, delete, update status of vendor accounts.
V. Review and Approve products
After vendor add a product the product status will be Not Submited and this product has not been available on main website yet.
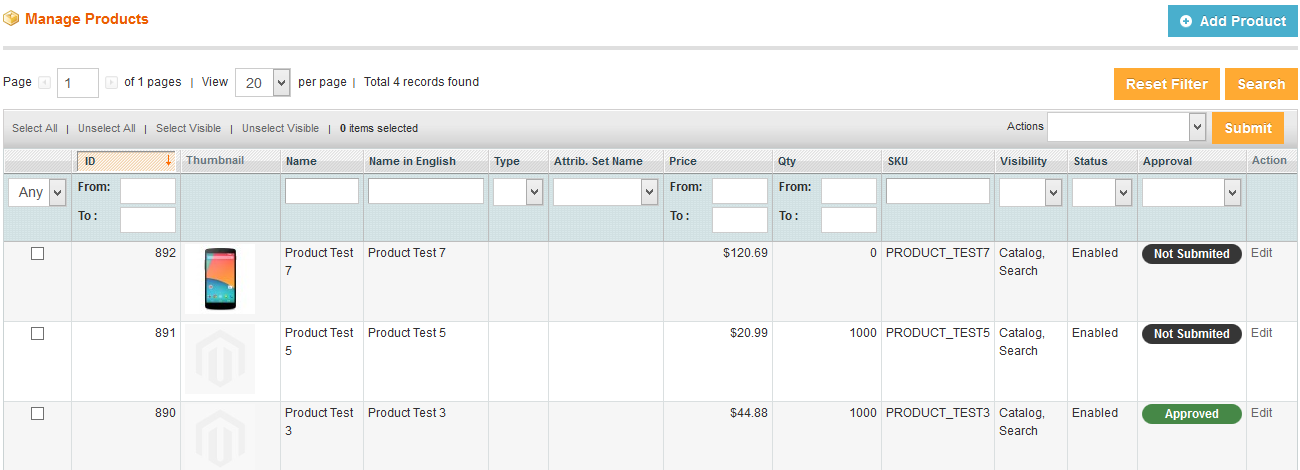
Vendor will need to edit the product and he will see new button "Submit For Approval". Vendor will need to click to this button to request for product approval.
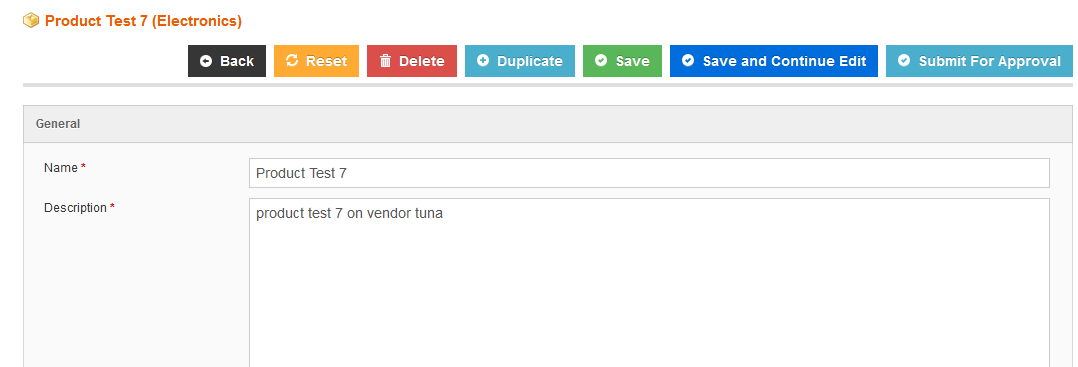
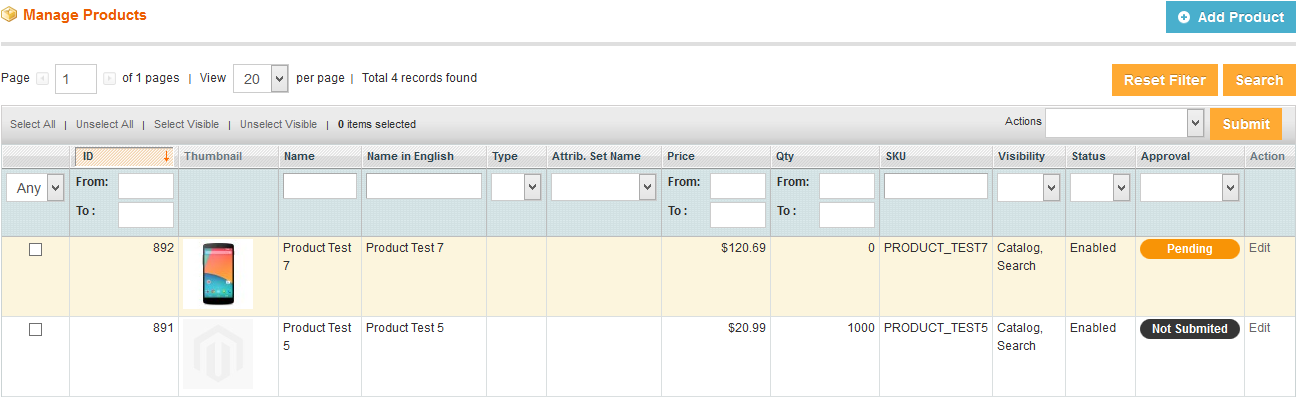
After click to this button the product status will be come Pending and wait for admin review and approve it.
From your admin panel go to memu Vendors -> Pending Products
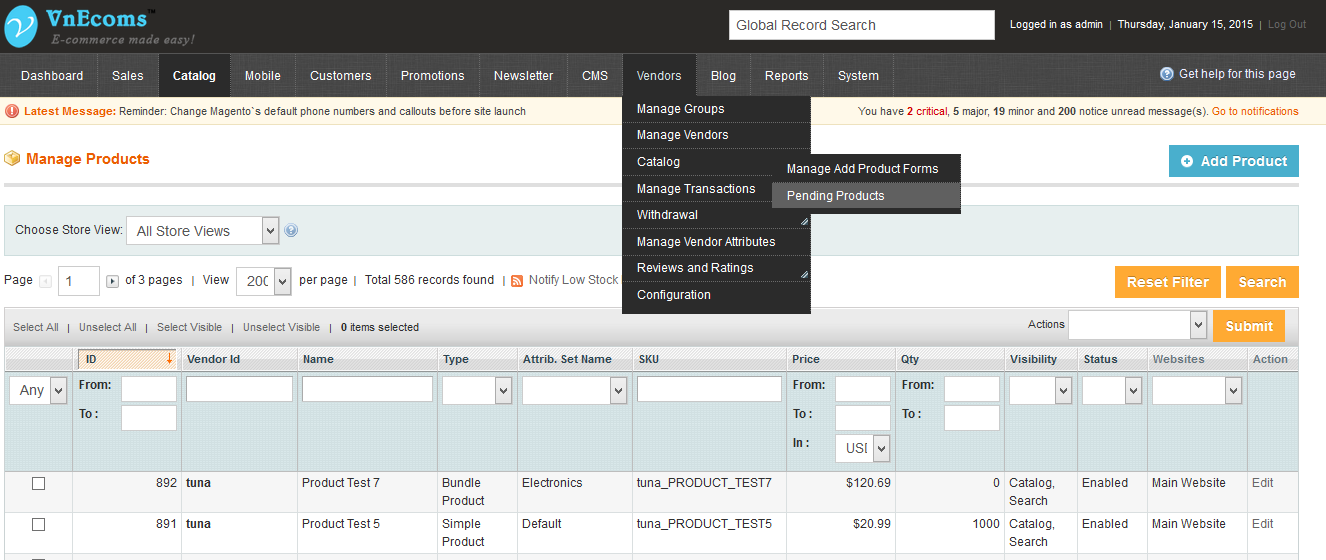
On this page admin are able to see all pending products which are submited by vendor for approval. All pending products are not available on main website. Admin can select products and approve or reject products.
VI. Withdrawal
1. Manage Payment Methods

Admin can manage all payment methods that support for vendor withdrawal. These payment methods will be available for vendors when they submit a withdrawal request.
2. Pending Withdrawal
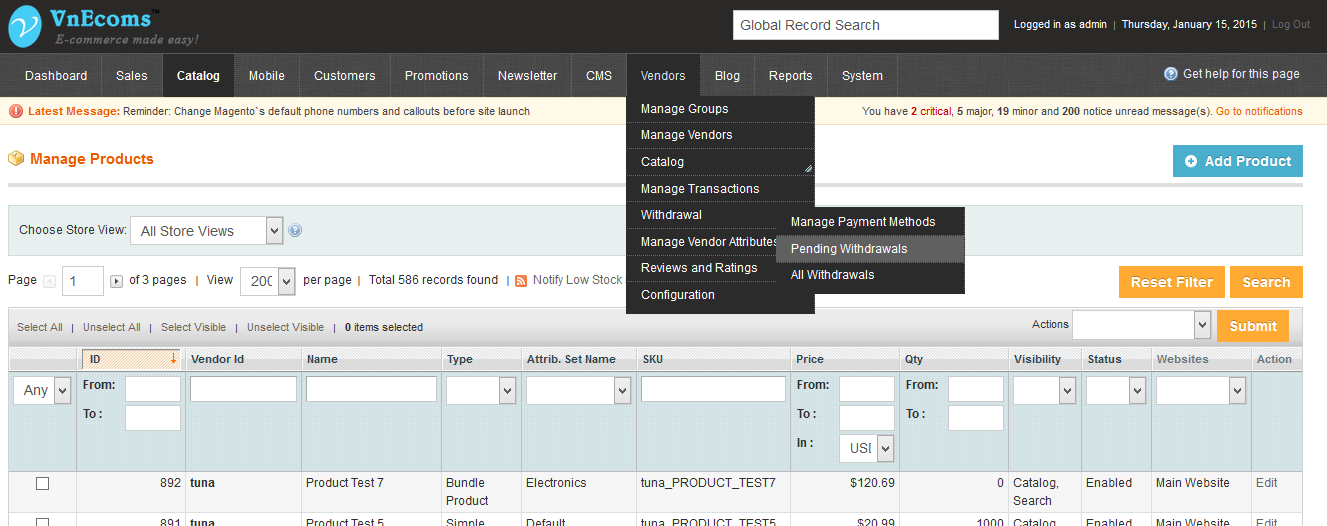
On this page admin can see all withdrawal request of vendors. Admin will view a request and mark the withdrawal as complete or reject the request for some reasons. Admin can add the note for the request.

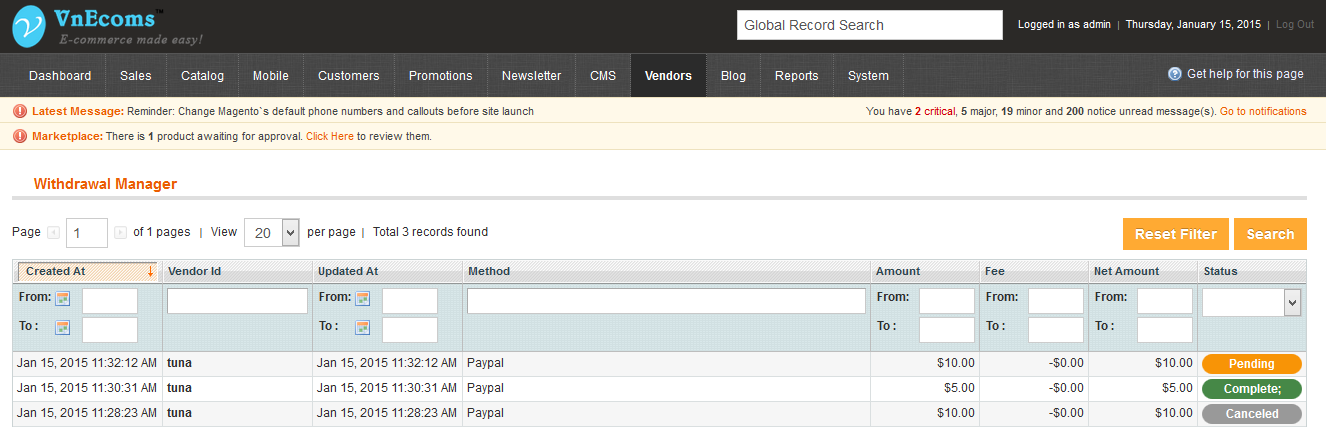
3. All Withdrawal
On this page admin can see all withdrawals which is sent from vendors (including pending and complete requests).
4. Vendor Submit Withdrawal
From vendor cpanel go to menu Credit -> Withdraw Funds.
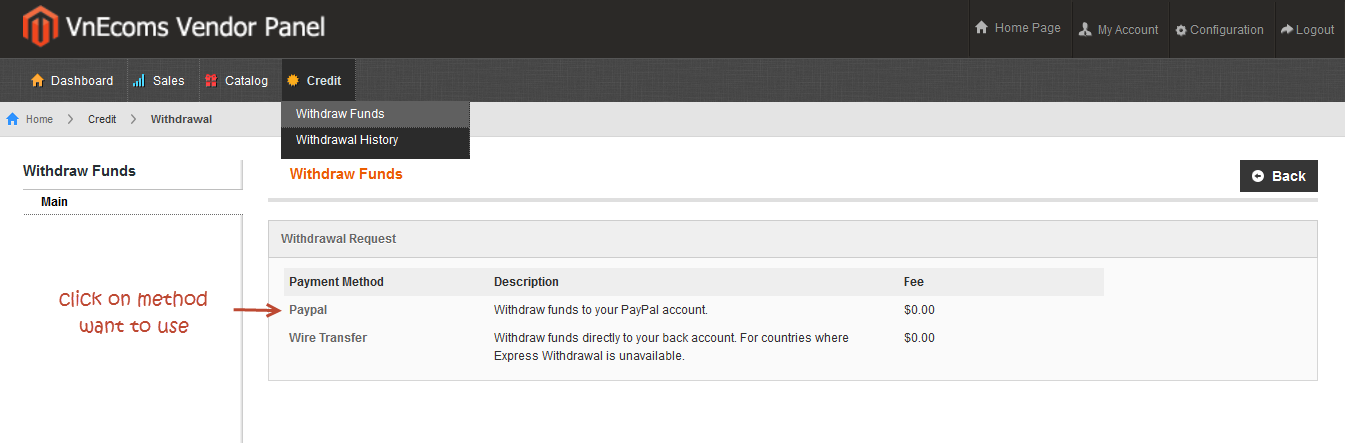
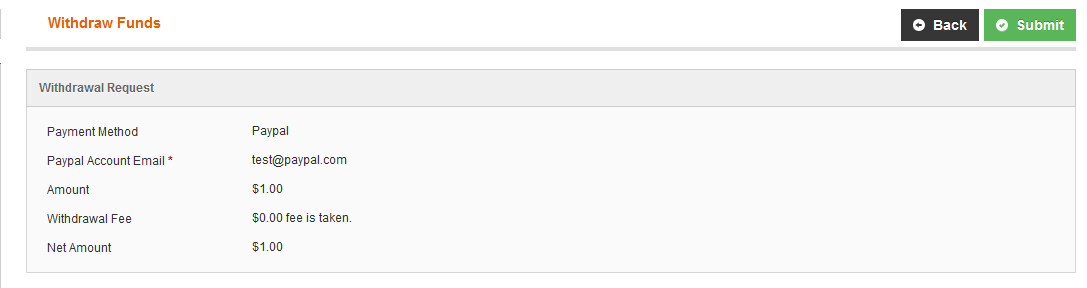
On this step vendor will need to enter the amount which he want to withdraw and the bank account or paypal, money booker, ... email account. After all information is filled click to Continue button.
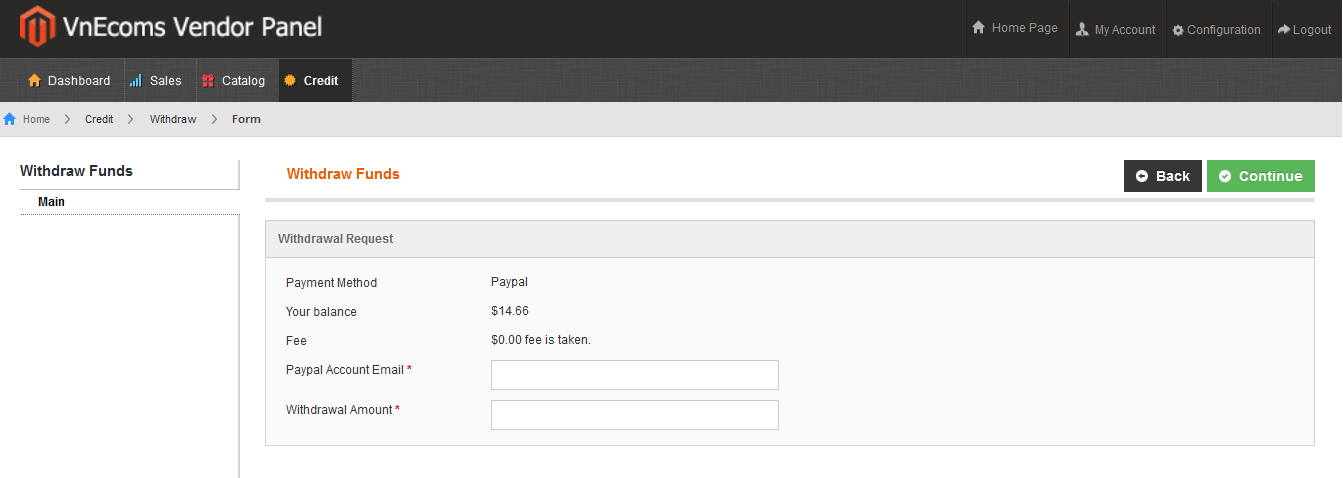
This step just show all information which you entered on previous steps. Click Submit to send the withdrawal request.
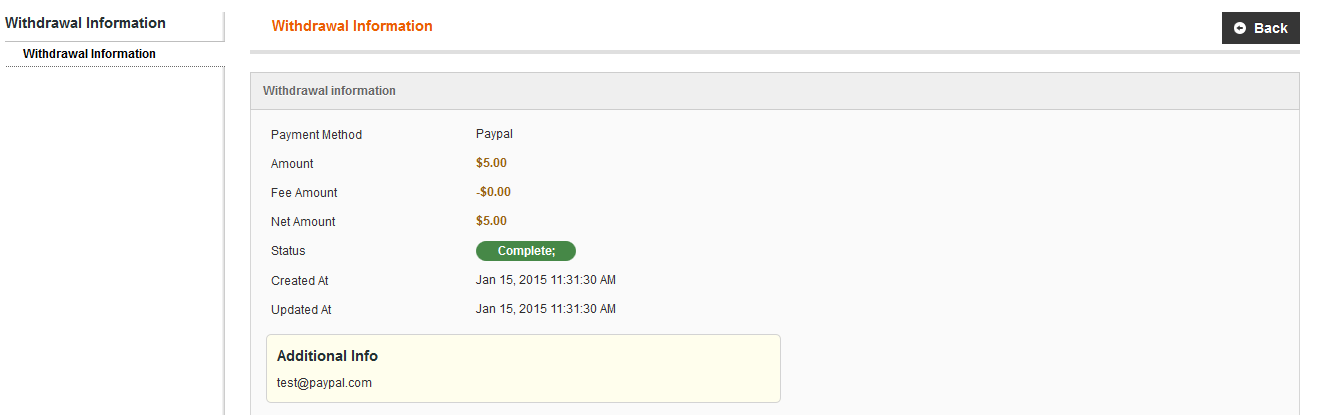
5. Vendor View Withdrawal History
From vendor cpanel go to menu Credit -> Withdrawal History
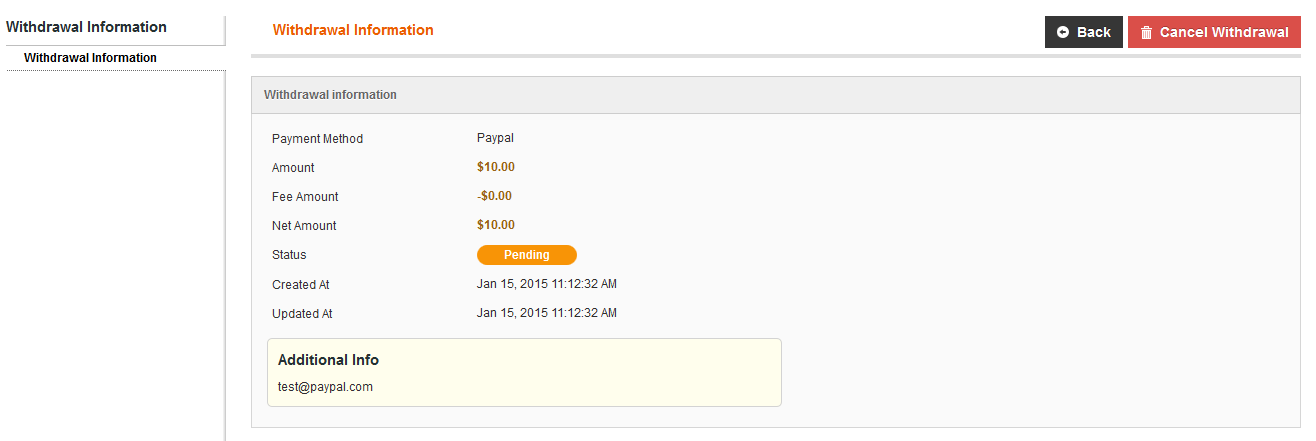
Here vendor can see all withdrawal requests with status.
Vendor can calcel a Pending withdrawal
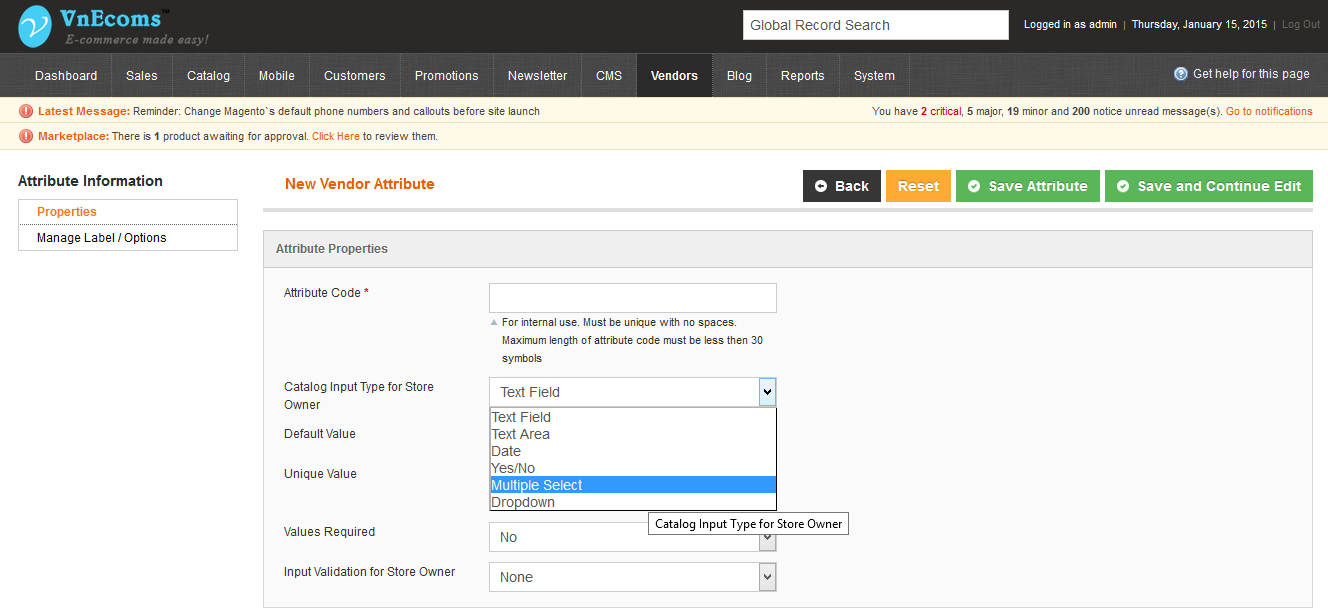
VII. Manage Vendor Attributes
From Admin panel go to Vendors -> Manage Vendor Attributes. Here admin can manage all vendor attributes.
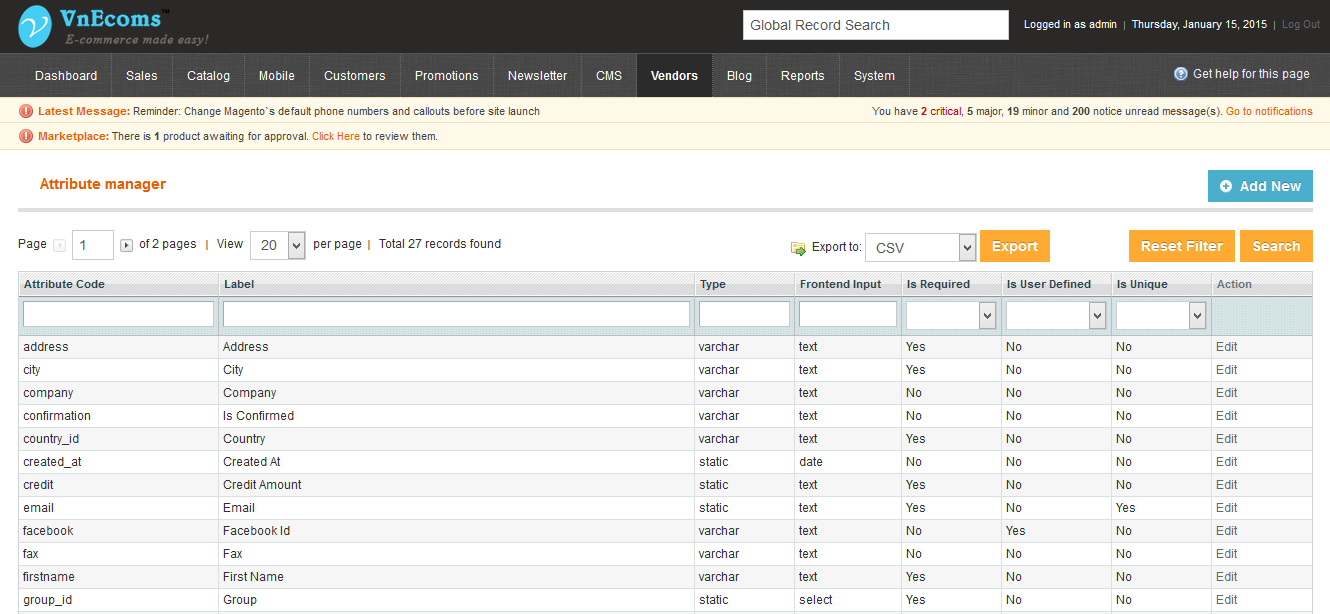
Admin can add unlimited attributes for vendor. Supported input type are Text Field, Text Area, Yes/No, Date, Multiple Select and Dropdown.
VIII. Manage Transactions
1. Admin
Admin can see all transactions from all vendors and Admin can create new transaction to add or subtract vendor credit.
2. Vendor
Vendor can view all transactions from vendor cpanel.
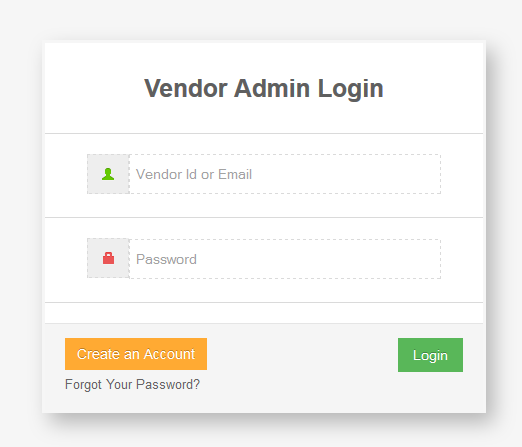
IX. Vendor Login
From Admin panel go to Vendors -> Manage Vendor Attributes. Here admin can manage all vendor attributes.
Vendor can login by click to the top links of the main website.
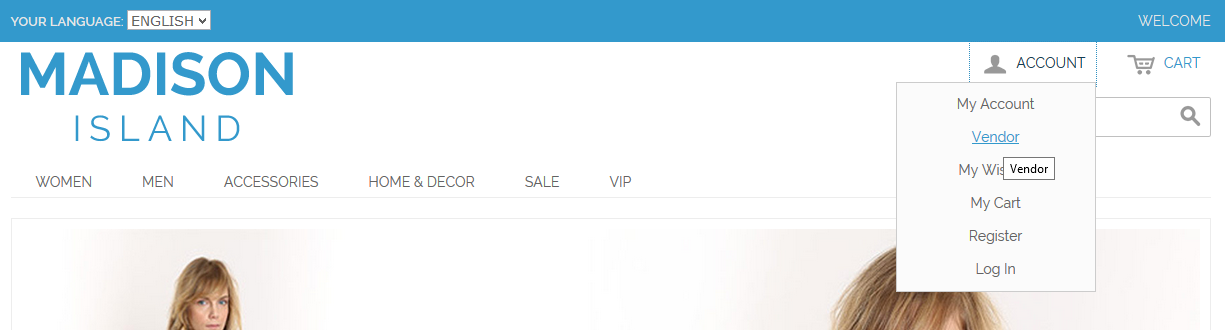
The vendor login page has the format like this: http://www.yourwebsite.com/vendors
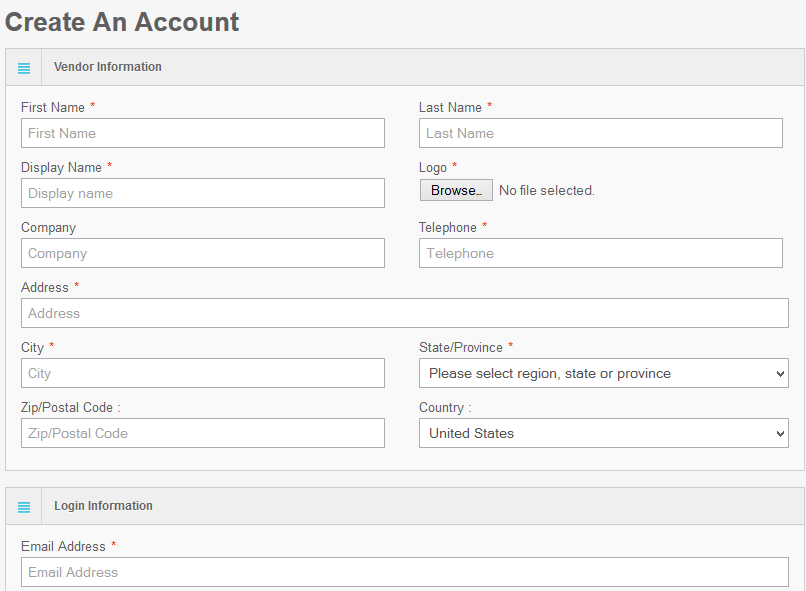
X. Vendor Register
The marketplace extension allows vendor and sellers to register for an account to start selling products on the marketplace website. You can disable this feature from configuration as well.
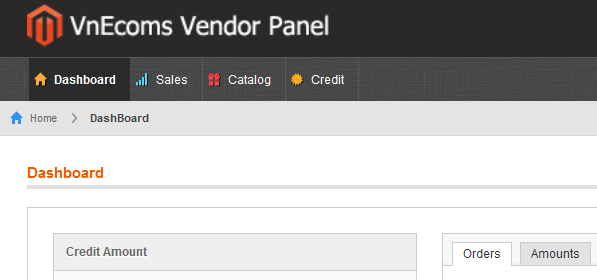
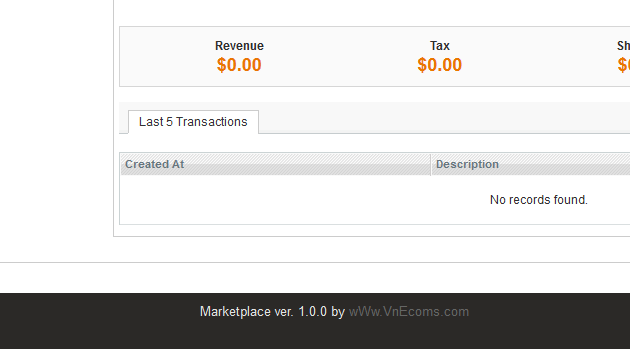
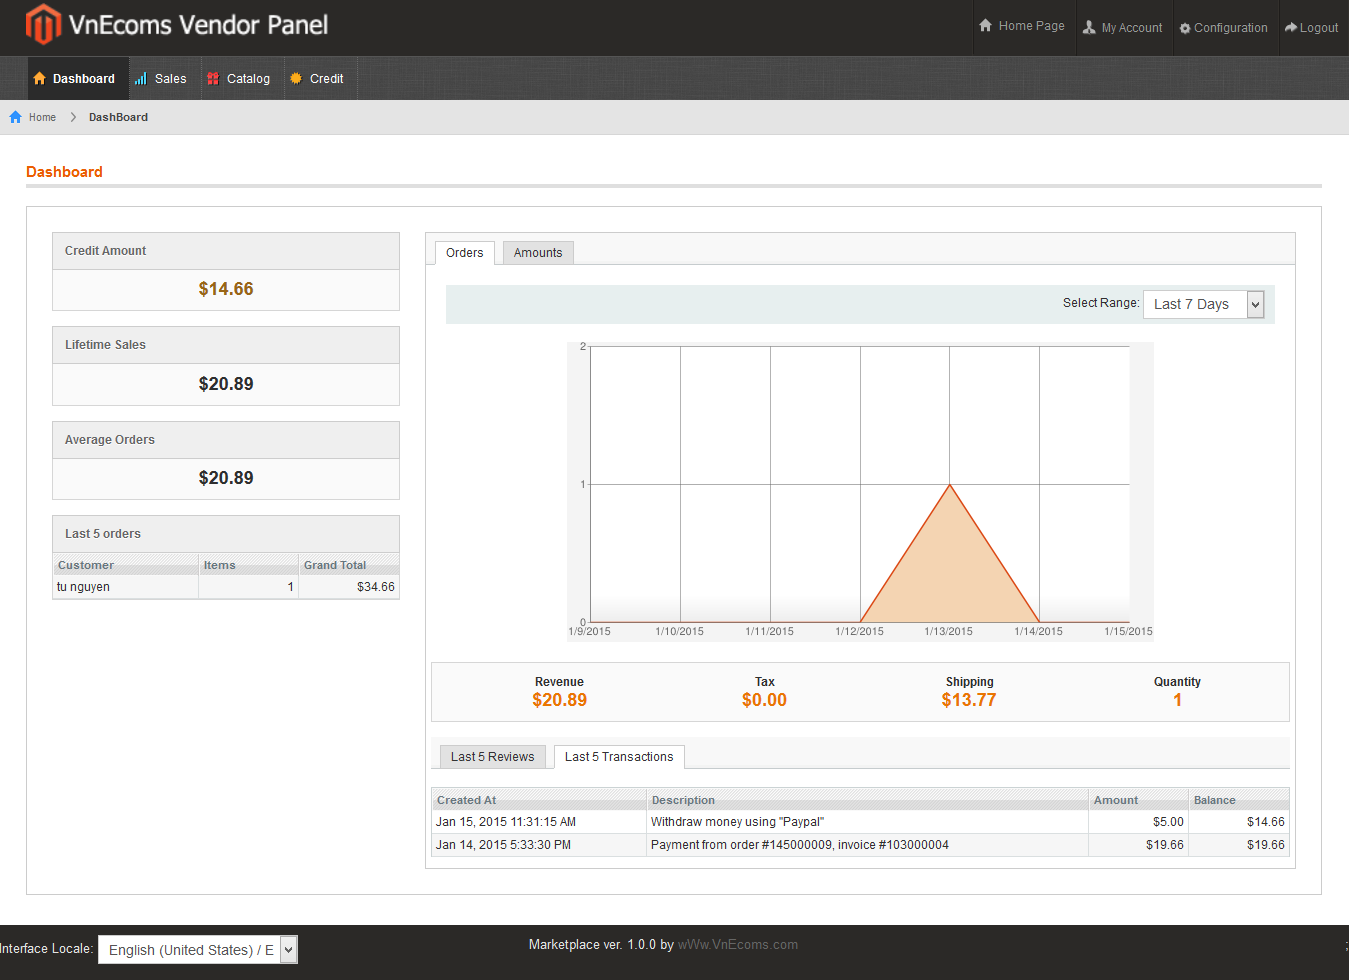
XI. Vendor Dashboard
From the vendor dashboard, vendors will have an overview about their store. The vendor will able to see the credit amount, total sales, last 5 orders, last 5 transactions.
XII. Vendor Manage Products
From vendor dashboard go to menu Catalog -> Manage Products.
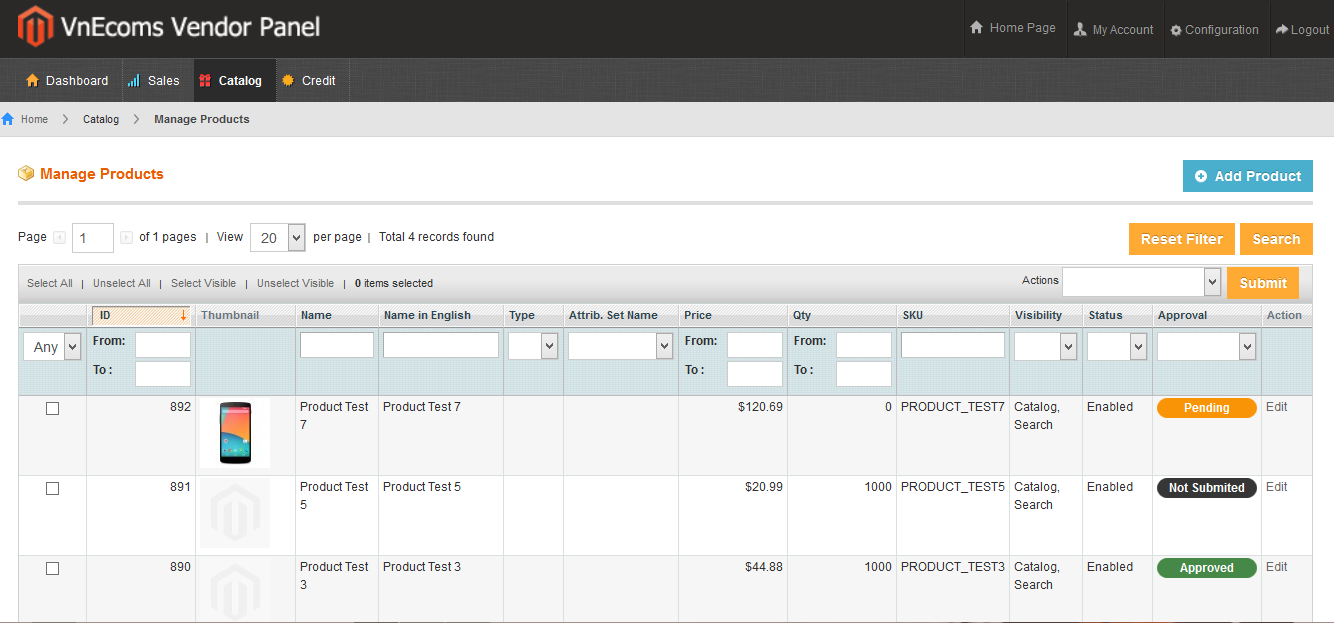
Click to add button to add new product.
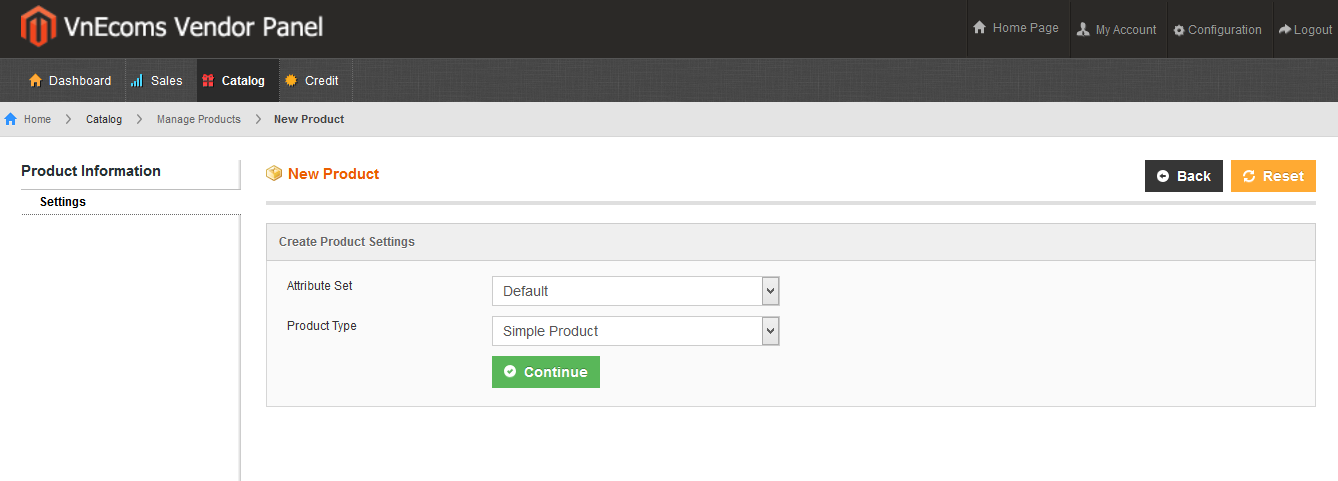
Vendor can use only attribute sets and product types which is selected from admin configuration.
The marketplace extension is working fine with these product types.
- Simple Product
- Configurable Product
- Grouped Product
- Virtual Product
- Downloadable Product
XIII. Vendor Manage Orders
Vendors are allowed to manage only their orders.
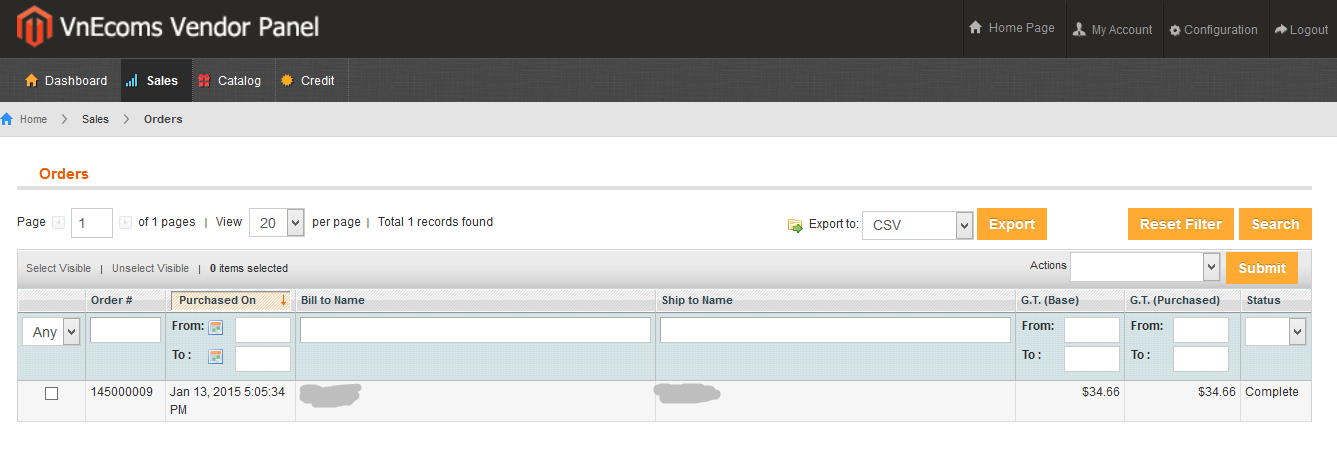
View order information.
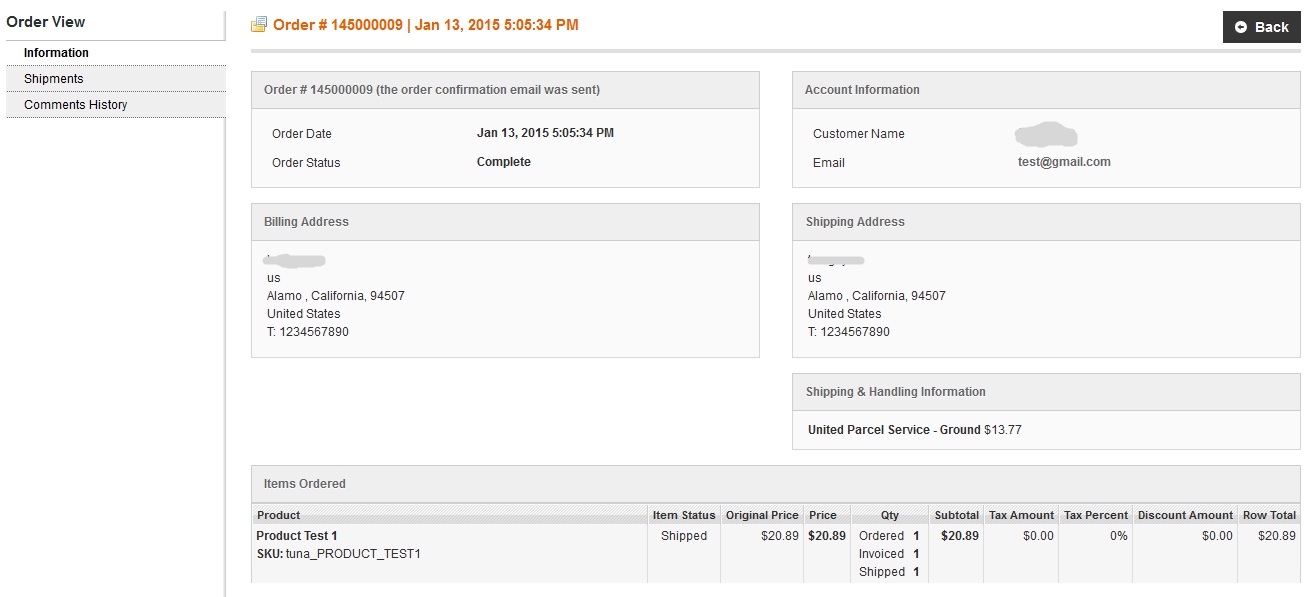
Depends on marketplace mode, vendor can see full information of order or a part of order info.
XIV. Vendor Manage Shipments
Vendor are able to create shipments for orders. From vendor cpanel, view an order and click to Ship to create shipment.
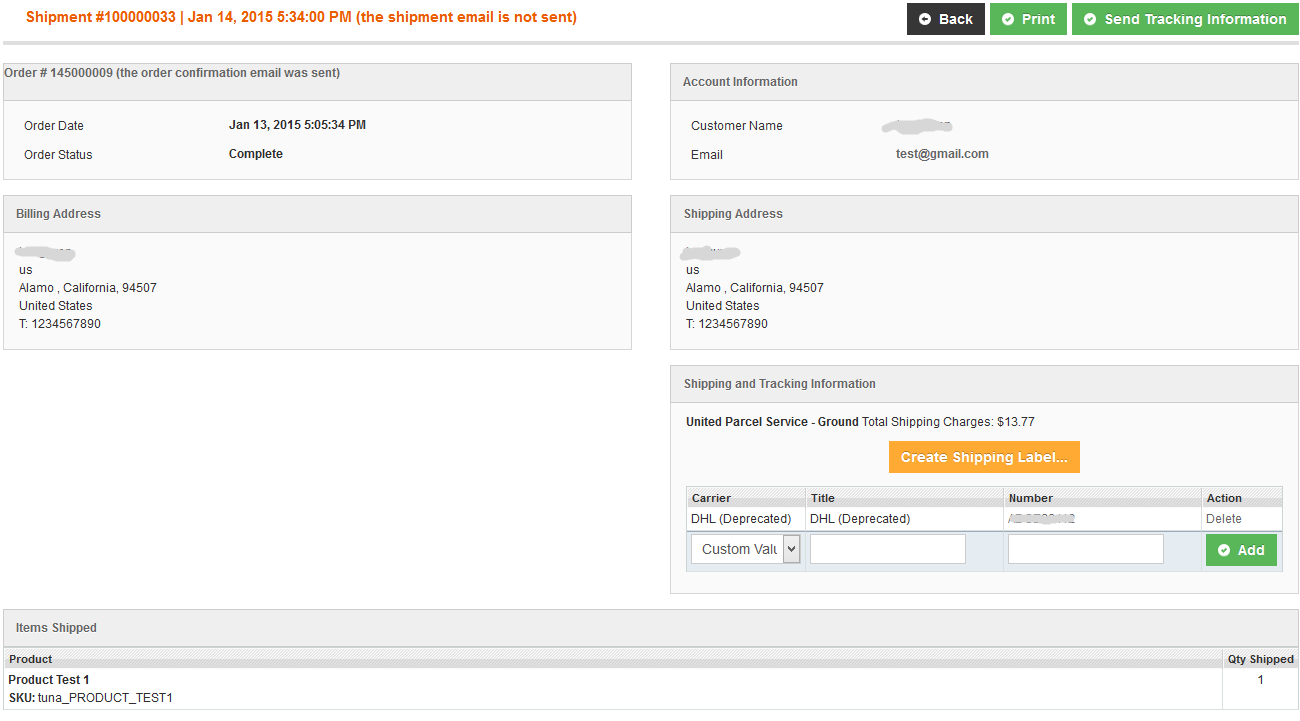
Vendor can create add tracking number for the shipment, Can create shipment for all order item or for just some individual items.
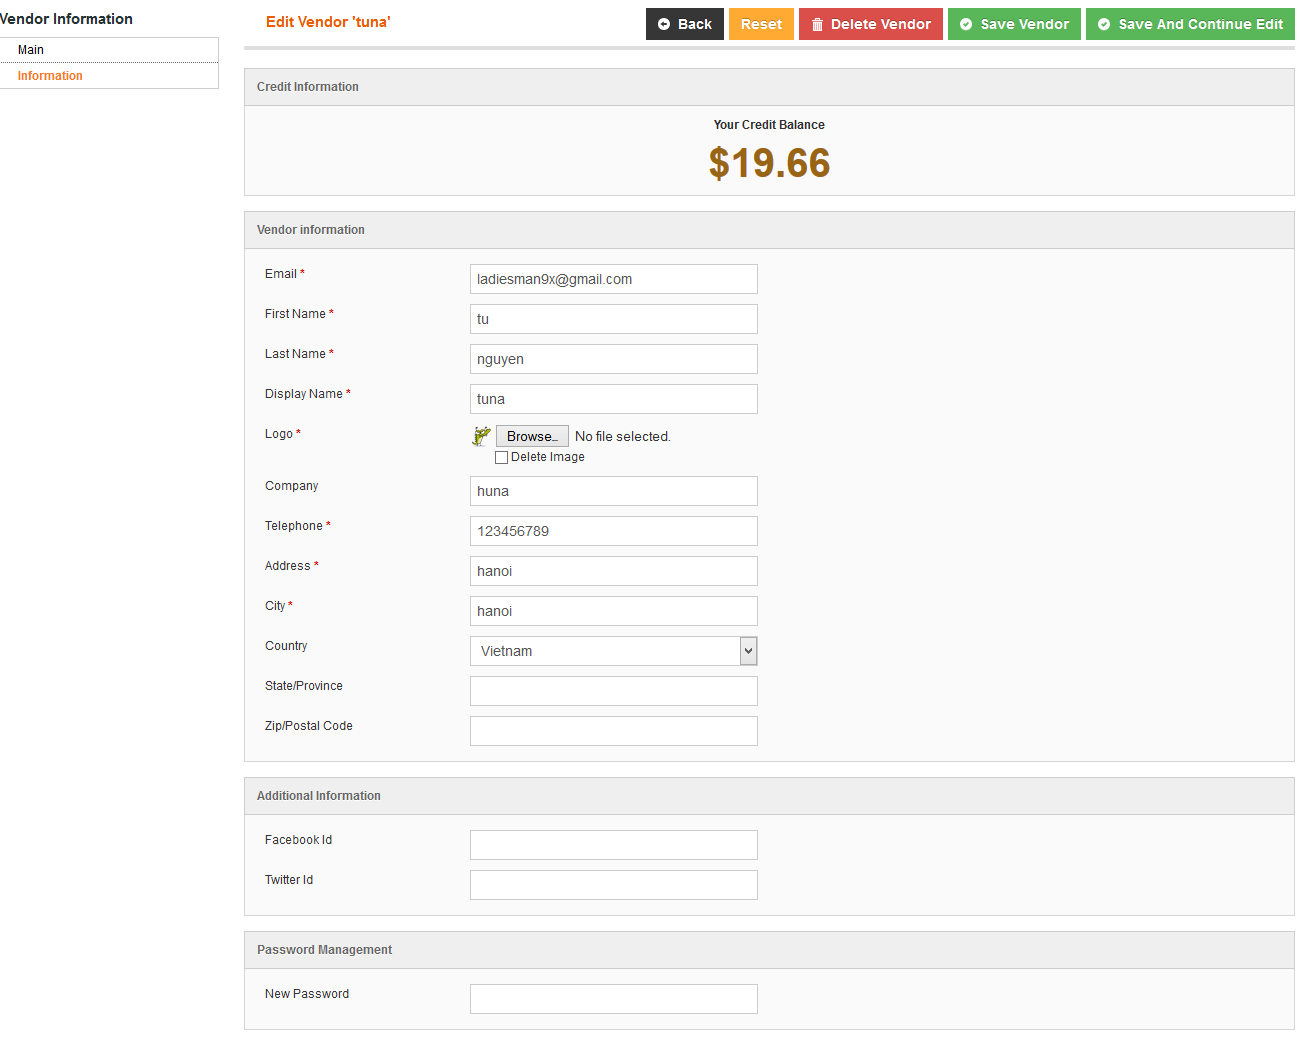
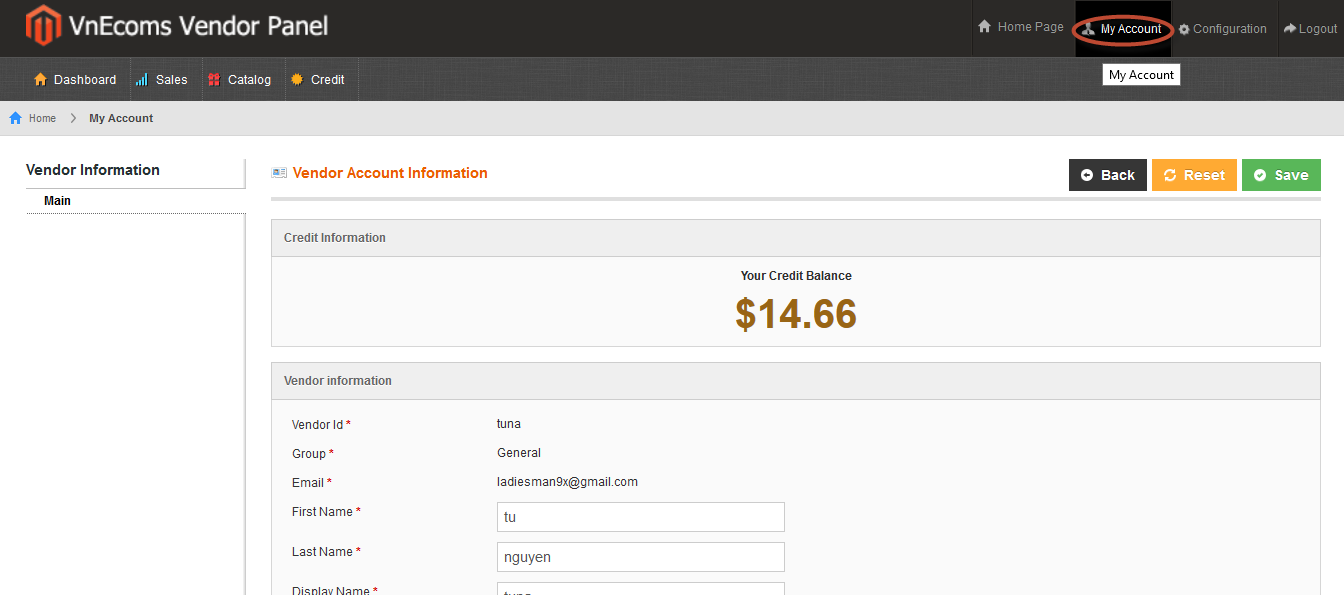
XV. Vendor Account Information
From vendor cpanel page click to Account top link to edit information of vendor account.
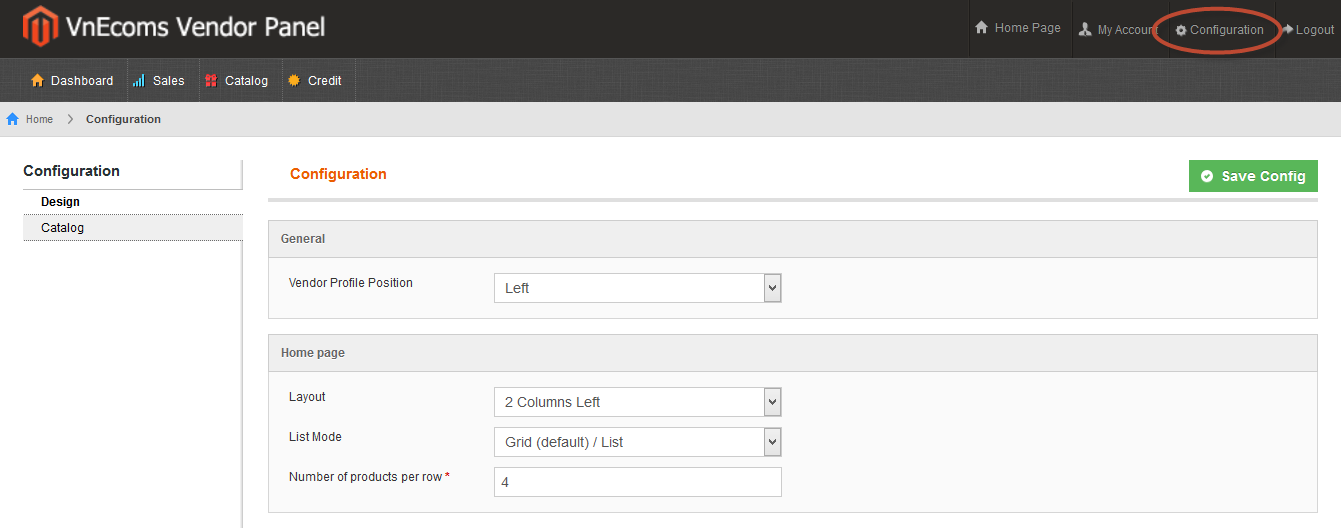
XVI. Vendor Configuration
From vendor cpanel page click to Configuration top link to go to vendor configuration page. With standard package vendor will have only configuration for the size of product thumbnail in the product list(vendor cpanel). But here vendor may have many configuration from other plugins.
 Magento Marketplace Extension, Marketplace Script, Multiple Vendor Script